The system can send four different emails.
Confirmation Email - sent within a minute after the appointment is booked, either by the customer or the administrator. Note, this is only sent when the "send confirmation email" box is checked.
Reminder Email - sent some amount of time before the appointment, or when the administrator selects the Send Reminder button from the Appointments tab. You have the option of requiring a reminder email to be sent, or letting the customer choose the option and selecting how long prior to the appointment the reminder email should be sent. The reminder email option is set on the Settings/UI Setup page (see the section on Appointment Settings for more details).
Cancellation Email - sent when the customer or administrator cancels the appointment.
Custom Email - allows you to send an email on an ad hoc basis. A custom email is sent only from the Appointments List page. On that page you would locate the specific appointment or appointments that you wanted to send an email to, and then you will have an option to send Custom Email. The text of the email is sent on the E-Mail Templates page.
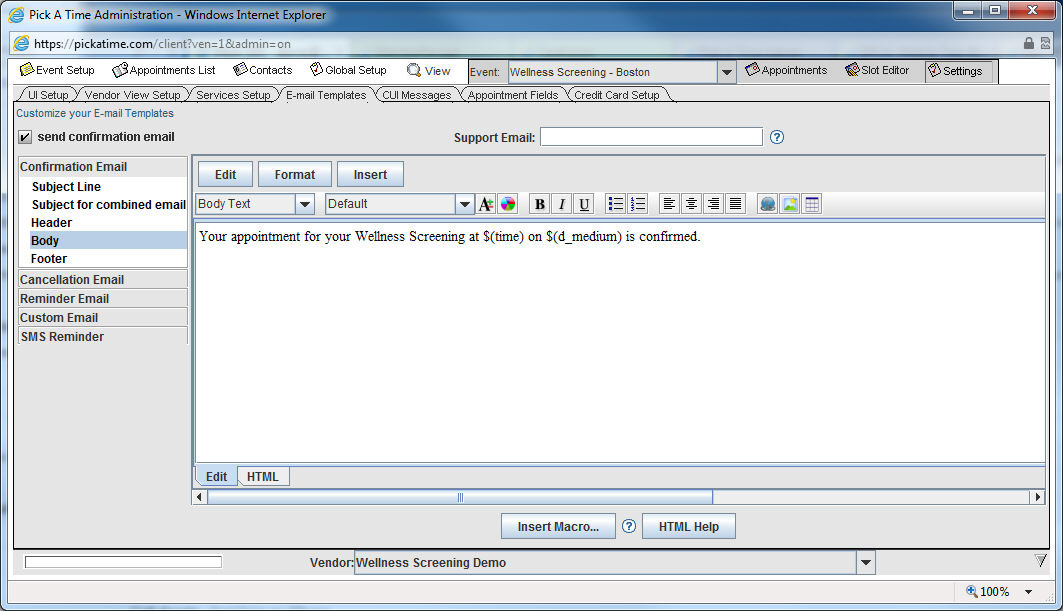
To view the default text for these emails, select the Settings tab. Then select the E-mail Templates tab. On the left hand side you can select the Confirmation Email, the Cancellation Email, the Reminder Email or the Custom Email. You can then select Subject Line, Subject for combined email, Header, Body, or Footer and view the text for these sections of your email template. You will have the option of editing the default text and using the toolbar to format your text.
If you would like the confirmation email to be sent when the appointment is made, then check the box at the top of the E-mail templates page next to “send confirmation email. “
You have the option to provide a support email address to receive emails when your customers reply to any of the three email types. Enter in an email address in the Support Email: box area and any time a customer selects "reply" to the confirmation, reminder, or cancellation emails the reply email will be sent to the support email address you specify. If you leave this blank, any replies will receive an automated email response. The Support Email address will apply to all events on your account.
Additional
The Subject for combined email is the subject line that will be used when multiple appointments have been booked, canceled, or modified. The text for each appointment transaction is "stacked" into one email. The system will use the Subject for combined email text in this "stacked" email subject line.
Clicking on the HTML button at the bottom of the email text will allow you to view and edit the html generated for your email.
You are now ready to Configure the Customer User Interface.